How to Start Composting with Red Wiggler Compost Worms: A Step-by-Step Guide

Composting with Red Wiggler Composting Worms, also known as vermicomposting, is an effective and eco-friendly way to recycle organic waste and create nutrient-rich compost for your garden. At Terry’s Worm Store, we are passionate about helping you get started with this rewarding practice. In this blog, we’ll provide a step-by-step guide on how to start composting with Red Wiggler Worms, covering everything from setting up your worm bin to maintaining a healthy worm population.
1. Setting Up Your Worm Bin
Choosing a Bin: Select a bin that suits your needs. You can use plastic, wood, or even a repurposed container. Ensure it has a lid and proper ventilation to prevent odors and maintain airflow.
Preparing the Bin: Drill small holes in the bottom and sides of the bin for ventilation and drainage. Place the bin on a tray or stand to catch any excess liquid, also known as worm tea, which can be used as a liquid fertilizer.
2. Adding Bedding
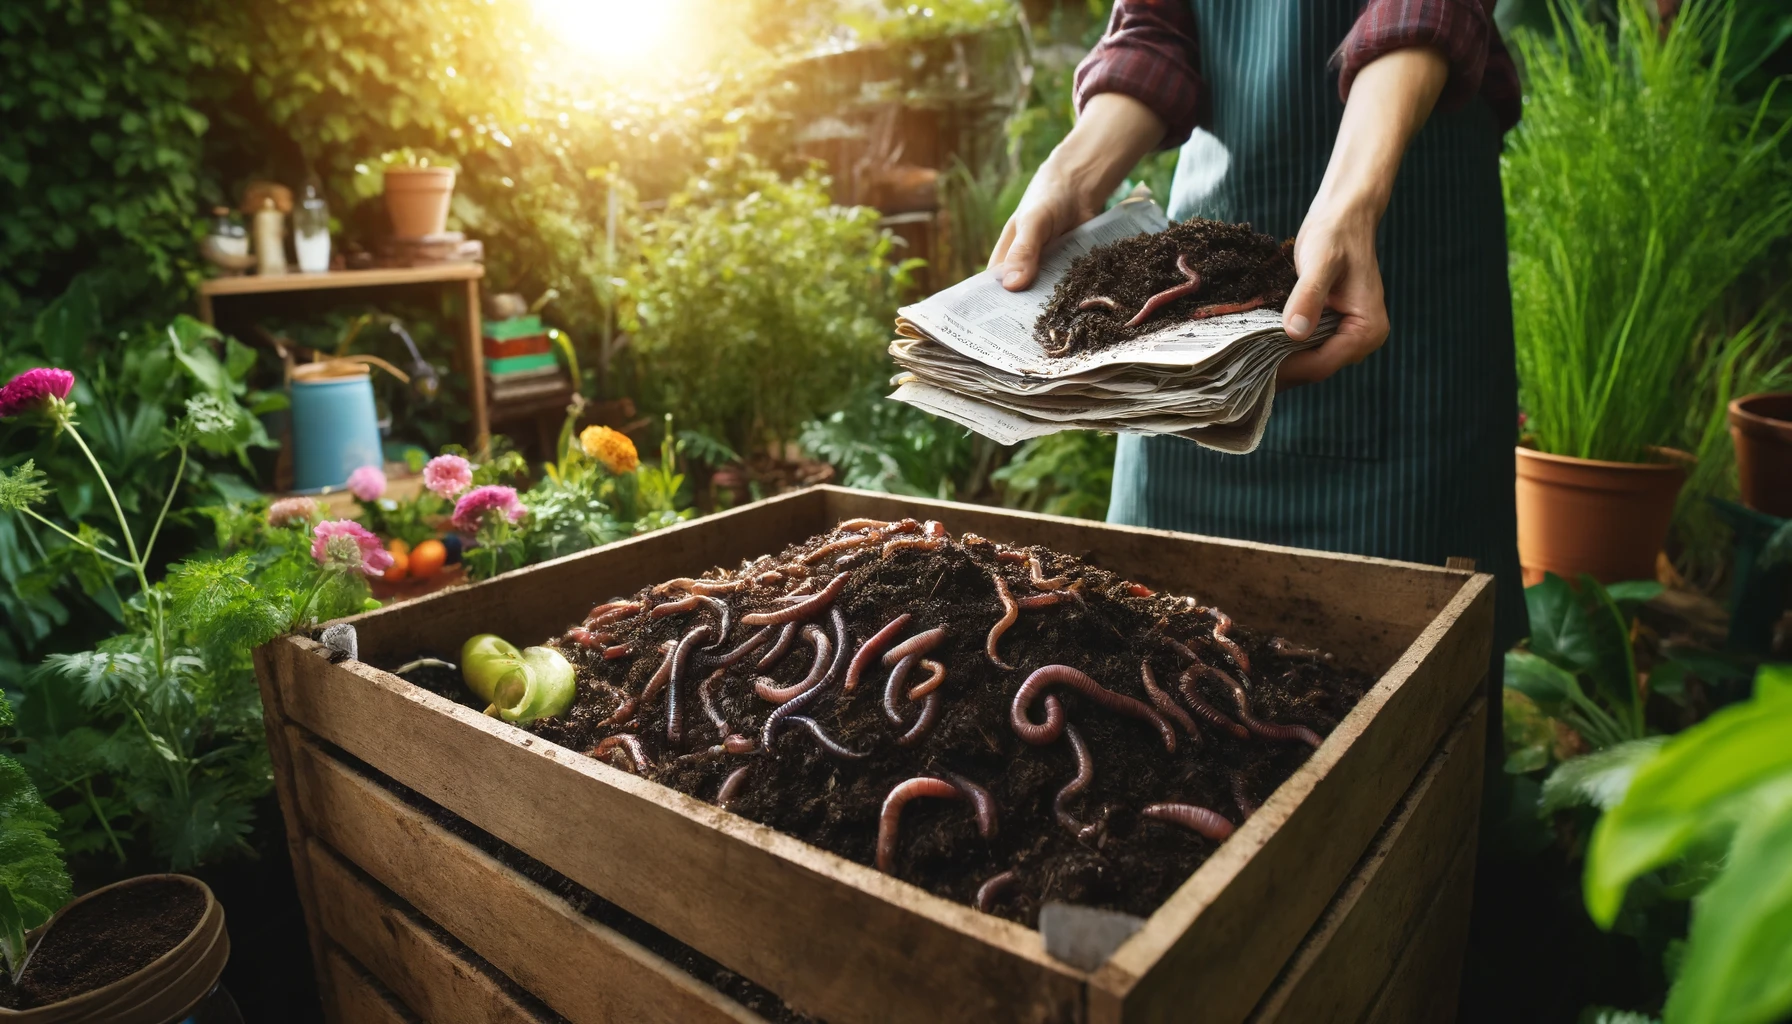
Bedding Materials: Use moist bedding materials like shredded newspaper, cardboard, coconut coir, or peat moss. The bedding should be damp but not soaking wet.
Filling the Bin: Fill the bin about one-third full with the bedding material. This provides a comfortable environment for the worms to move around and burrow.
3. Introducing the Red Wiggler Worms
Choosing the Right Worms: Our Mix of Red Wigglers (Eisenia Fetida, Eisenia hortensis and Perionyx excavates) we think are the best choice for composting. They thrive in the conditions of a worm bin and are efficient at breaking down organic matter.
Adding the Worms: Gently place the Composting Worms on top of the bedding. They will naturally burrow into the material to escape light. Aim for about one pound of worms (approximately 1,000 worms) for every square foot of bin surface area.

4. Feeding the Worms
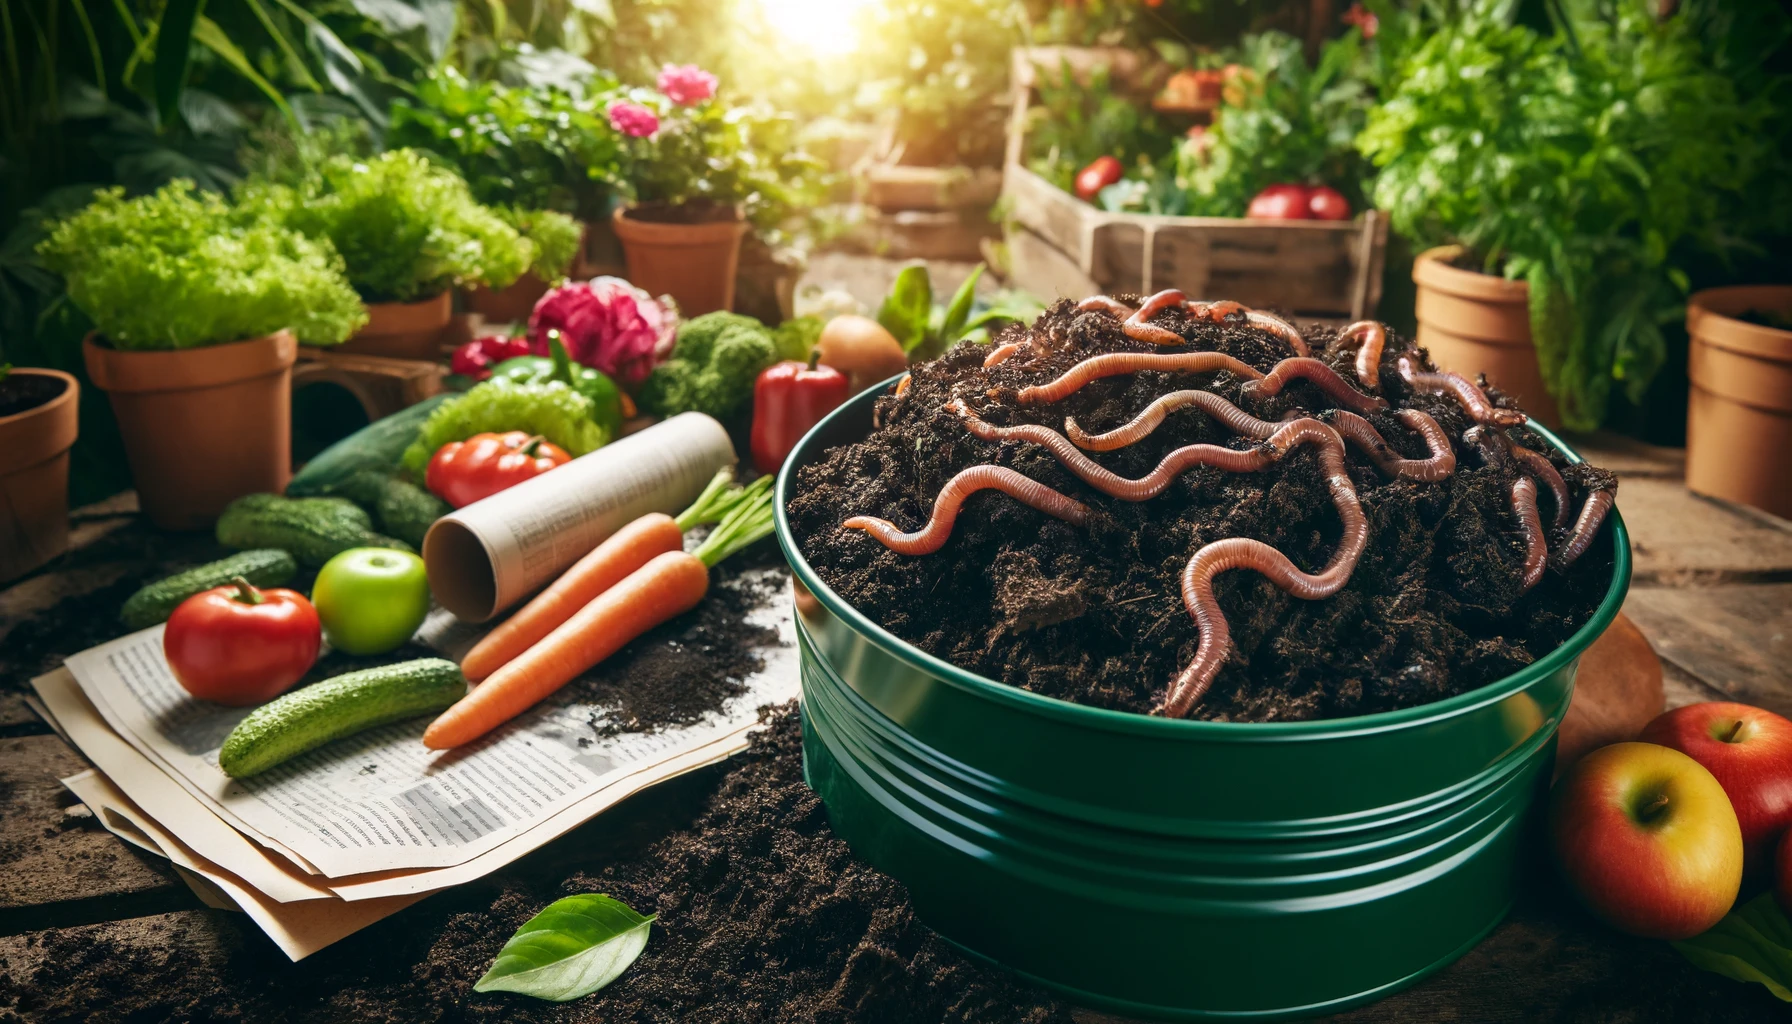
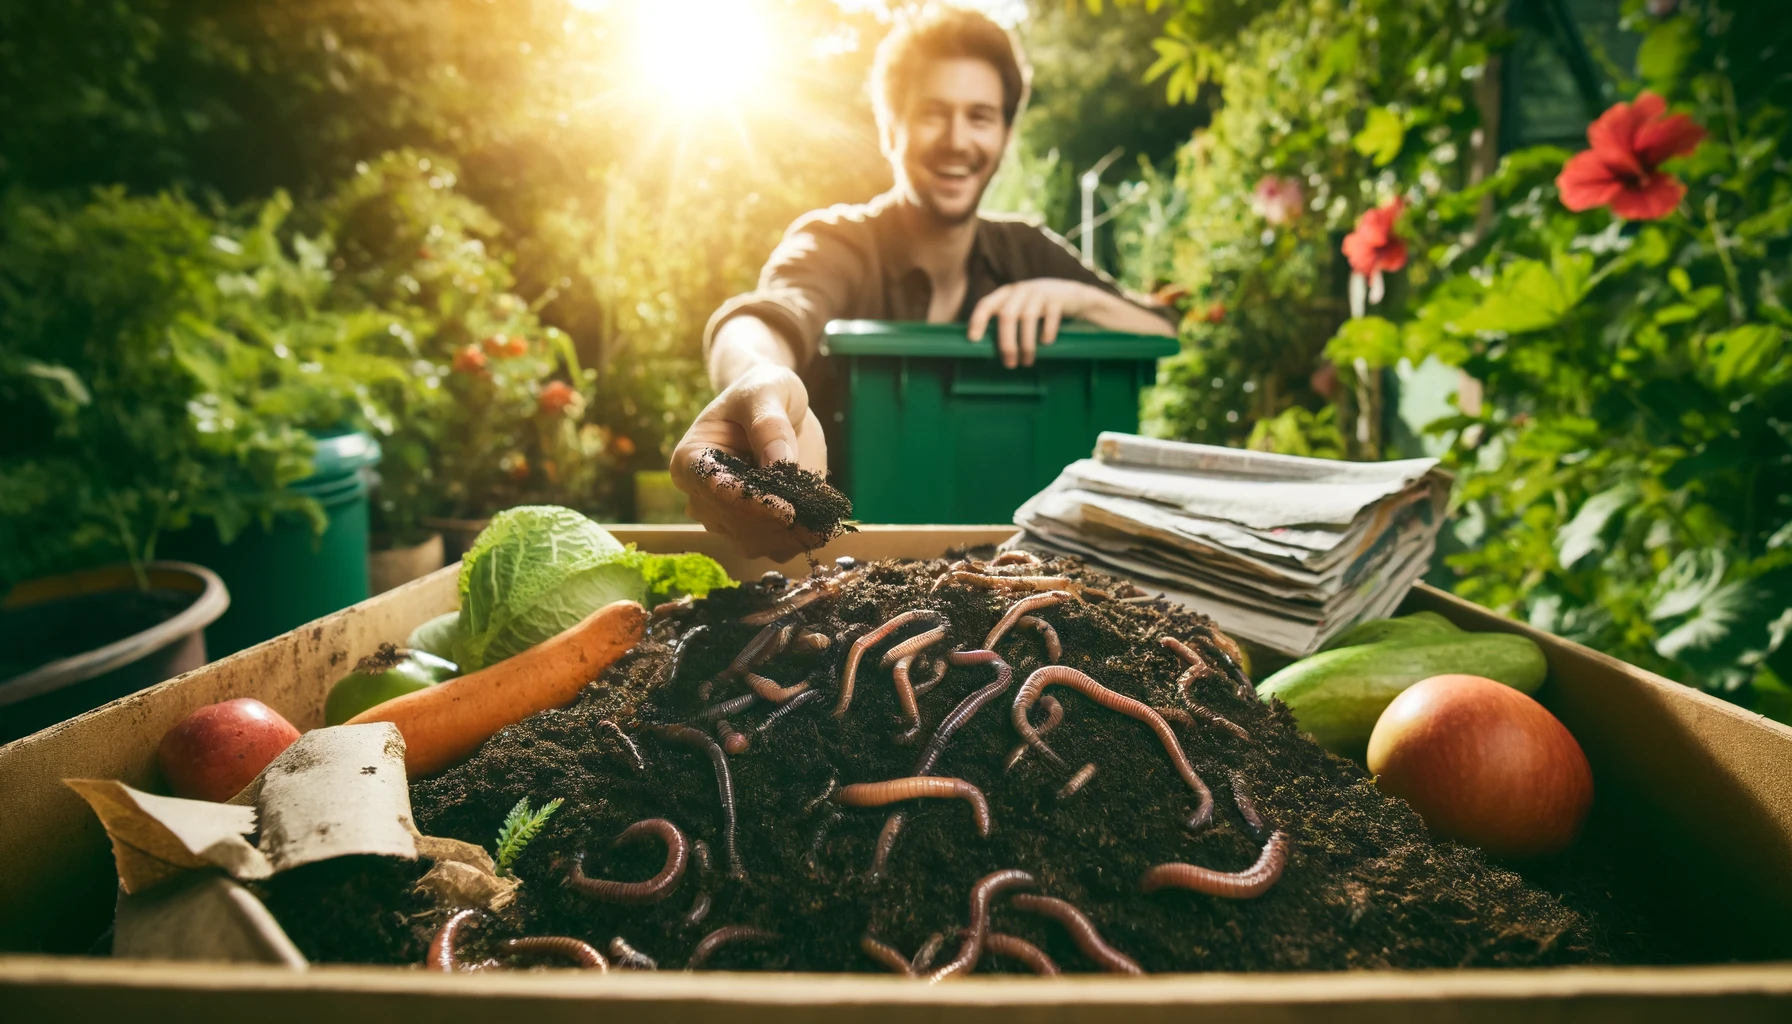
What to Feed: Composting Worms love fruit and vegetable scraps, coffee grounds, tea bags, and crushed eggshells. Avoid feeding them meat, dairy, oily foods, and citrus, as these can create odors and attract pests.
How to Feed: Bury the food scraps under the bedding to prevent fruit flies and odors. Rotate the feeding spots around the bin to ensure even distribution.
5. Maintaining the Bin
Moisture and Temperature: Keep the bedding moist, like a wrung-out sponge. If it gets too dry, add a little water. Maintain the bin at room temperature (55-77°F or 13-25°C) to keep the Red Wiggler Compost worms active and healthy.
Aeration: Gently fluff the bedding every few weeks to improve airflow and prevent compaction. This helps the worms move around and access food.
6. Harvesting the Compost
When to Harvest: In about 3-6 months, the bedding and food scraps will be transformed into dark, crumbly compost. It’s time to harvest when the bin looks like rich soil and smells earthy.
How to Harvest: Push the finished compost to one side of the bin and add fresh bedding and food to the other side. The worms will migrate to the new food source, making it easier to collect the compost. This is just one of many ways to do this.
7. Using the Compost
In Your Garden: Mix the compost into garden beds, pots, and planters to enrich the soil and boost plant growth. Worm compost is high in nutrients and beneficial microbes.
As a Top Dressing: Sprinkle the compost around the base of plants as a top dressing. This helps retain moisture and adds nutrients to the soil over time.

Conclusion
Starting a worm composting system is a simple and rewarding way to recycle organic waste and create high-quality compost for your garden. By following these steps, you can set up a successful vermicomposting system and enjoy the many benefits it offers. At Terry’s Worm Store, we’re here to support you with all the supplies and advice you need to get started. Happy composting!
PS: Please check out this store for special Private Sales from time to time.

